Votre panier est vide.
How to Grow Your Own Magic Mushrooms — The Complete Guide (2026 Update)
Publié sous: Growing & Cultivation

The Complete Cultivation Guide: Kits, PF-Tek, and Advanced Methods (2026 Update)
Want to grow your own magic mushrooms but not sure where to start? You are in the right place. This mega-guide covers every method — from beginner-friendly grow kits that need almost no setup, to intermediate PF-Tek cultivation, all the way to advanced techniques like monotubs, grain spawn, and agar work. Whether you are picking up a kit for the first time or looking to level up your skills, this guide has everything you need to grow your own magic mushrooms successfully at home.
In this guide: A complete overview of how to grow your own magic mushrooms — covering all three skill levels, the full growing cycle from spore to harvest, and how to troubleshoot common problems.
This guide consolidates four of our most popular cultivation posts into one comprehensive resource. Use the section links to jump to the level that suits you, or read from top to bottom for the full picture.
Covers: Ready-to-grow kits · PF-Tek method · Advanced cultivation · Spore types · Growing cycle · Common problems · Drying and storage
Why Grow Your Own Magic Mushrooms?
There are many good reasons to grow your own magic mushrooms rather than buying them. Once you understand the basics, cultivation is a genuinely rewarding hobby — and the process itself teaches you a great deal about fungal biology and how mycelium works.
Here is a quick summary of the main advantages:
| Cost efficiency | A single grow kit produces multiple flushes from one purchase. Growing from spores costs even less per harvest. |
| Quality control | You know exactly what went into your substrate and how your mushrooms were grown — no unknowns. |
| Freshness | Fresh mushrooms are available the moment you harvest. No storage time in transit. |
| Education | You learn fungal biology, sterile technique, and mycology hands-on. Many growers find this deeply satisfying. |
| Variety | Growing from spores gives you access to dozens of cubensis strains, each with its own characteristics. |
| Self-sufficiency | Once you master cultivation, you can maintain your own spore library and grow continuously. |
The learning curve is real, but it is not steep at Level 1. Most beginners who follow the instructions correctly have success with their first grow kit. If you want to know more about the science behind the process, our introduction to magic mushrooms is a good starting point.
The Three Levels of Growing: Which One Is Right for You?
Not everyone starts at the same place. We have structured this guide around three levels of experience and complexity. Each level has its own methods, equipment requirements, and time investment. The table below gives you a quick comparison so you can choose where to start.
| Level | Method | Skill Required | Setup Time | Equipment Needed | Best For |
|---|---|---|---|---|---|
| Level 1 | Ready-to-grow kit | Beginner | 5 minutes | Kit, water, bag | First-timers, simplicity |
| Level 2 | PF-Tek (brown rice flour + vermiculite jars) | Intermediate | 2–4 hours | Jars, pressure cooker or steamer, spore syringe, still air box | Those who want more control and variety |
| Level 3 | Grain spawn + monotub / agar | Advanced | Several days | Pressure cooker, flowhood or glove box, agar plates, grain jars | Experienced growers, strain isolation, scale |
The sections below cover each level in detail. Jump to whichever applies to you — or read through all three to understand the full spectrum of what is possible when you grow your own magic mushrooms.
Level 1: Growing with a Ready-to-Grow Kit
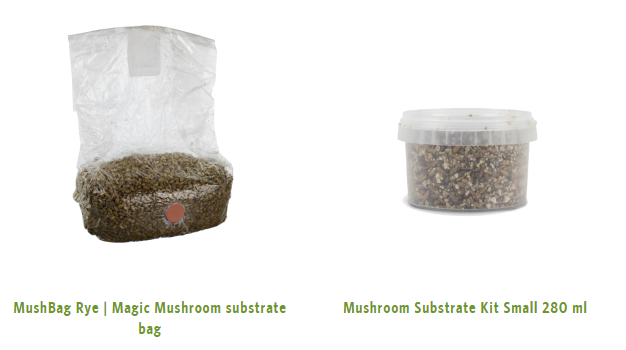
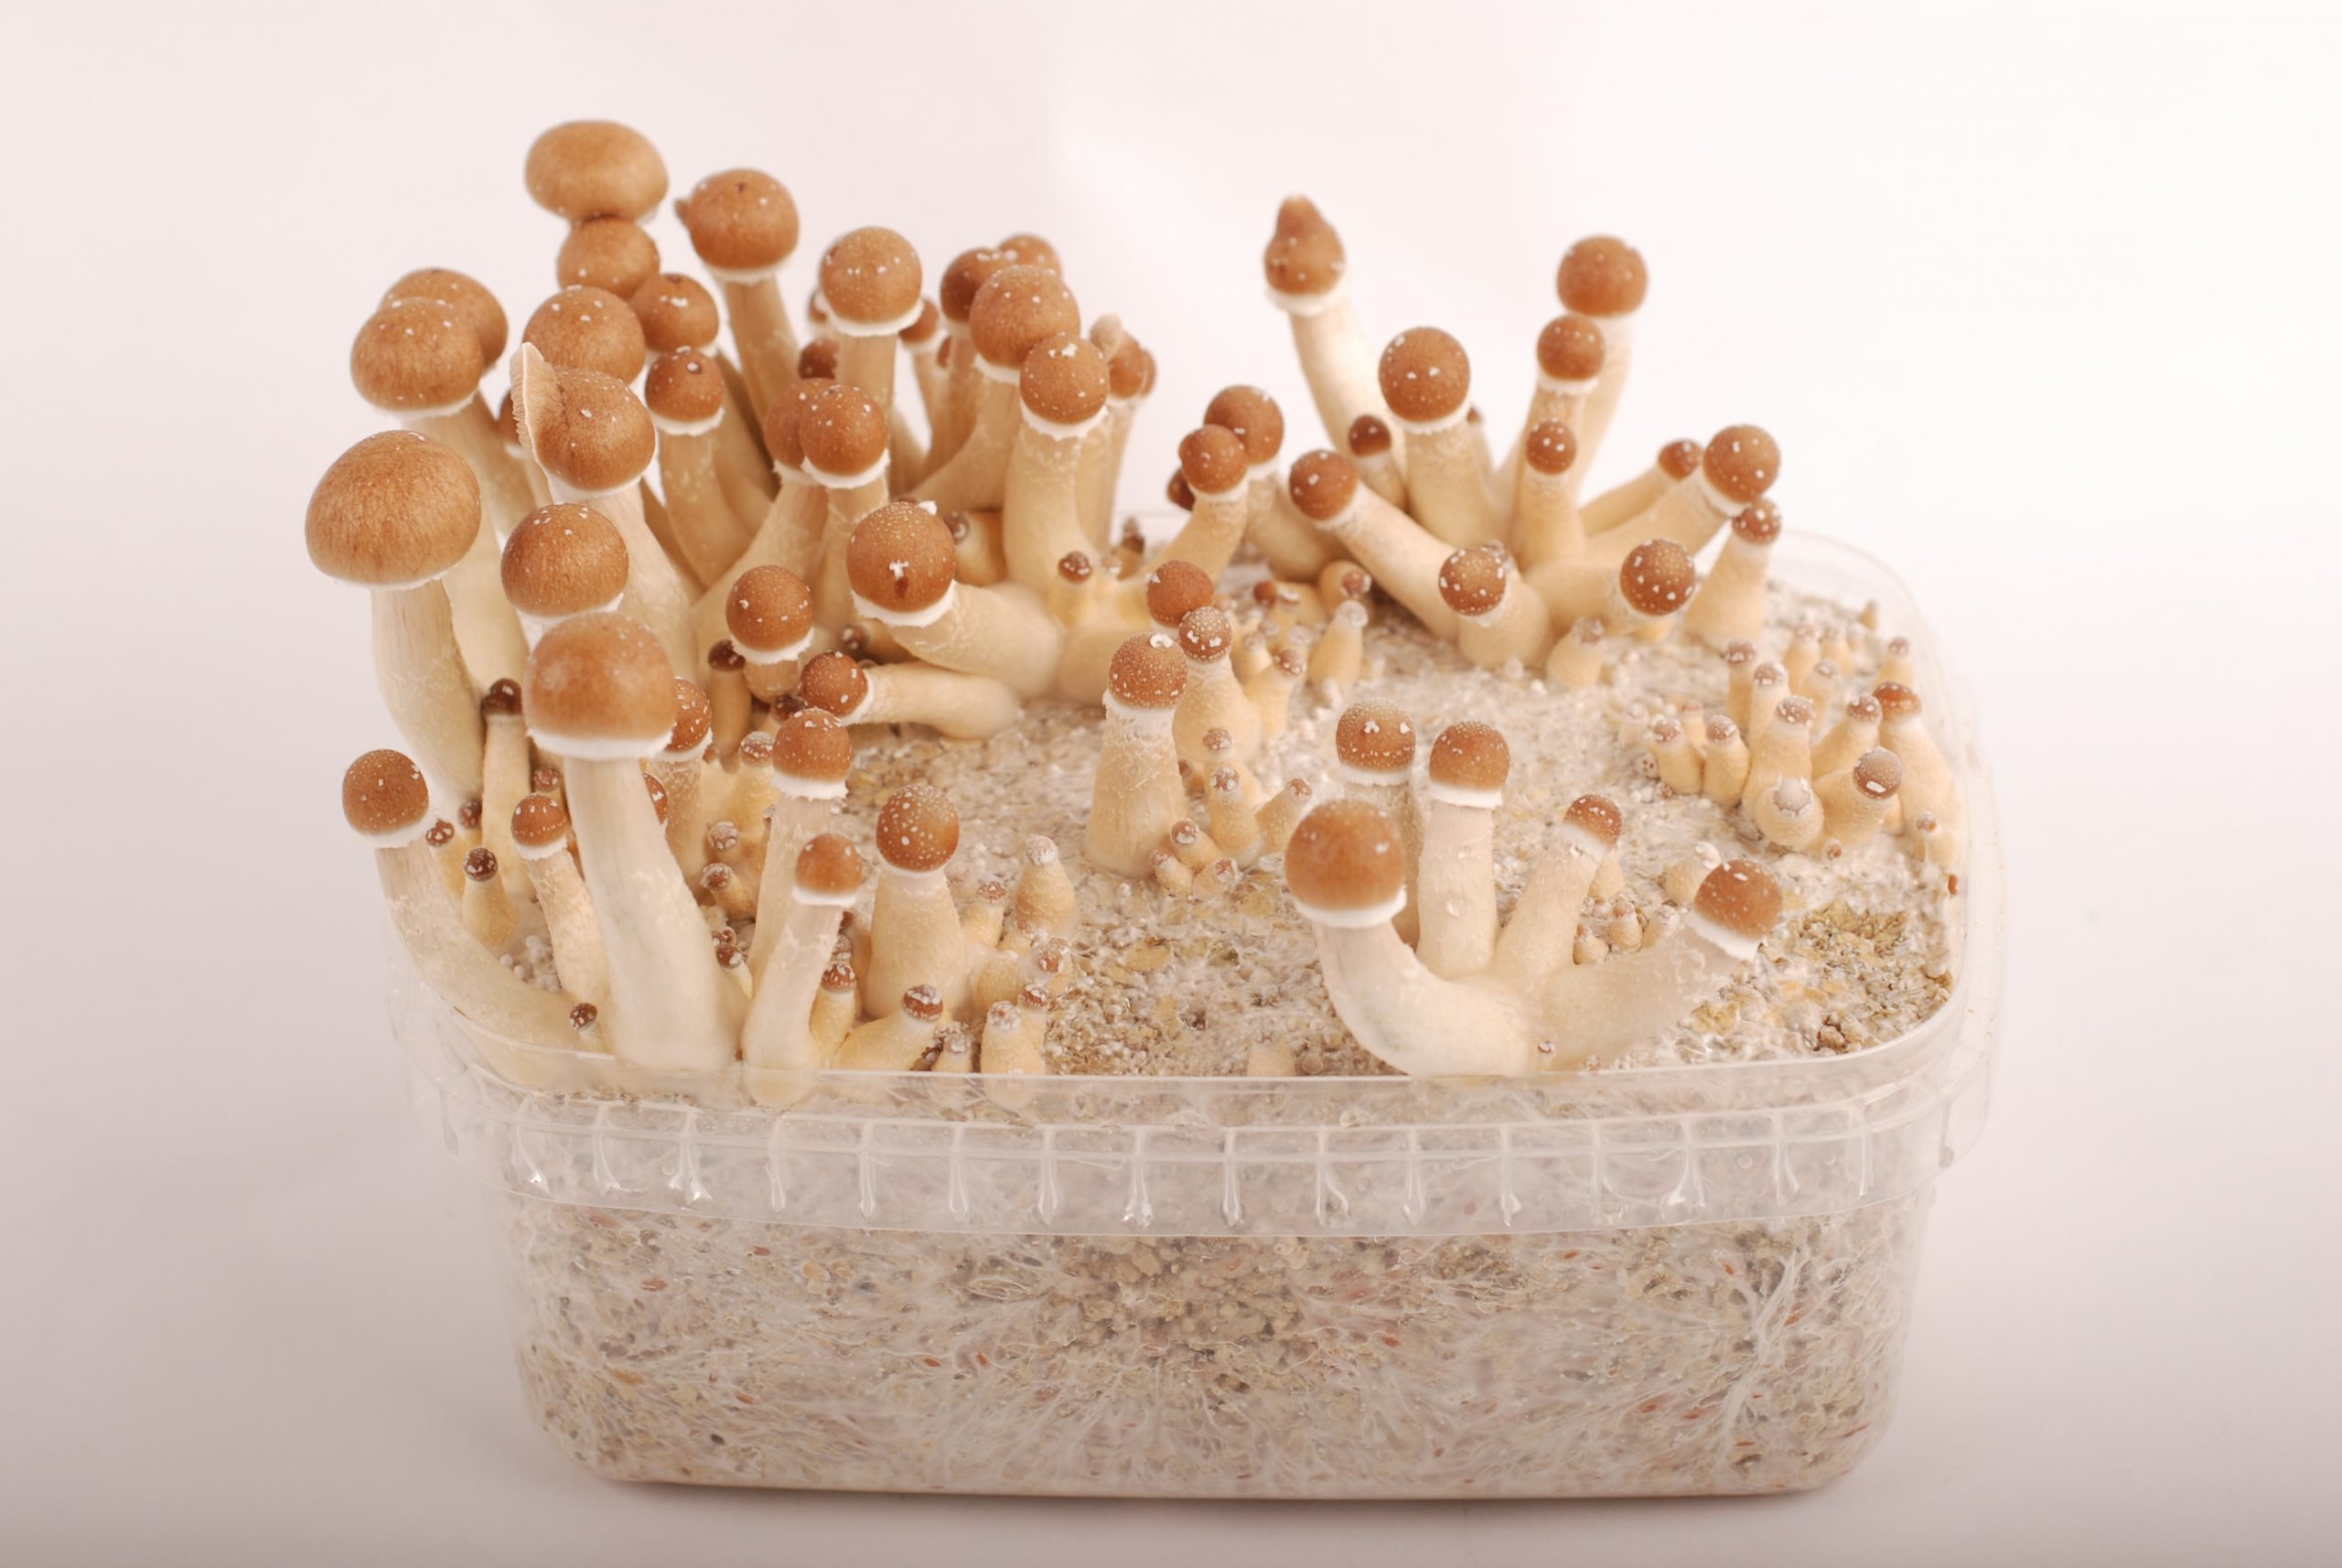
A magic mushroom grow kit is the easiest way to grow your own magic mushrooms. The substrate inside has already been inoculated with mycelium and allowed to colonize fully in a controlled environment. You do not need spores, sterile technique, or special equipment. You just open the box and follow a few simple steps.
What Is Inside a Grow Kit?
Each kit contains a tray of fully colonized substrate — typically a mixture of rye grain, vermiculite, and perlite that has been colonized with Psilocybe cubensis mycelium. It also comes with a grow bag (with filter patch), and instructions. The mycelium has already done most of the work. Your job is to create the right conditions for fruiting. To learn more about the full process, read our detailed guide on how a magic mushroom grow kit works.
Step-by-Step: From Kit to First Flush
1
Prepare the kit
Prepare the kit
Remove the kit from the box. Take off the lid. Rinse the inside of the lid with clean water and set it aside — you will use it later. Do not scrub or touch the surface of the substrate.
2
Soak (optional)
Soak (optional)
Some kits benefit from a short soak to rehydrate the substrate. Fill the tray with clean water, replace the lid, and leave it for one hour. Then drain off the excess water completely.
3
Place in the grow bag
Place in the grow bag
Slide the kit into the grow bag. Fold the top of the bag over twice and secure it. The filter patch in the bag allows gas exchange while keeping contaminants out.
4
Create the right environment
Create the right environment
Place the kit somewhere warm — ideally 23–26°C. Avoid direct sunlight. Indirect light is fine and actually helps trigger pinning. Read our guide on light requirements for grow kits for more detail.
5
Mist and fan daily
Mist and fan daily
Once a day, open the bag briefly to fan fresh air in and mist the inside walls lightly. Do not spray directly onto the substrate surface. This maintains humidity and prevents CO₂ buildup.
6
Harvest before the veil breaks
Harvest before the veil breaks
Mushrooms are ready to harvest just before — or at the moment — the veil beneath the cap begins to tear. Learn exactly when and how in our guides on when to harvest magic mushrooms and how to pick mushrooms from your grow kit.
Tip: After your first harvest, soak the kit in cold water for 12 hours to trigger a second flush. Most kits produce two to four flushes before the substrate is exhausted.
Browse our full range of ready-to-grow options in the magic mushroom grow kits category. We carry several cubensis varieties suited to different preferences.
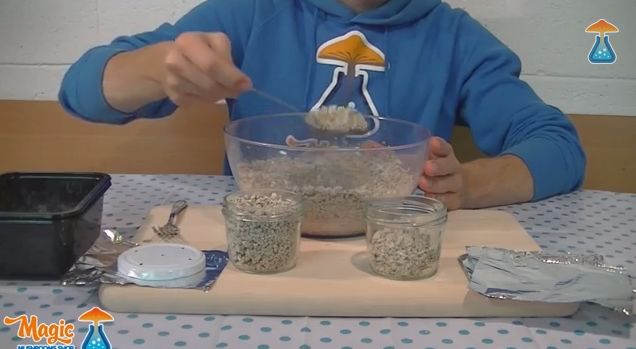
Level 2: Growing from Spores with PF-Tek
PF-Tek (Psilocybe Fanaticus Technique) is the most widely used beginner-to-intermediate cultivation method for growing magic mushrooms from spores. It was developed in the early 1990s and remains a reliable, low-cost approach. The method involves inoculating small glass jars filled with a substrate of brown rice flour and vermiculite, then transferring the colonized "cakes" to a fruiting chamber.
What You Need for PF-Tek
| Item | Notes / Link |
|---|---|
| Spore syringe or vial | Your genetic starting point — see the spores section below |
| Brown rice flour | Fine-ground BRF is the substrate base |
| Vermiculite (grade 3) | Holds moisture and adds structure to the substrate |
| Glass jars with screw caps | Half-pint (240 ml) mason jars are ideal |
| Pressure cooker or steamer | For sterilizing substrate jars before inoculation |
| Still air box or laminar flow hood | Provides a clean environment for inoculation |
| Isopropyl alcohol (70%) | For wiping surfaces and the syringe needle |
| Fruiting chamber | A plastic tote with holes and perlite works well |
PF-Tek: Overview of the Process
The full PF-Tek process has several stages. Here is a brief overview of each one:
For the full step-by-step instructions with video, read our dedicated PF-Tek cultivation guide. It covers every stage in detail, including sterilization tips and how to troubleshoot colonization problems.
You will also want to read our guides on how to sterilize cultivation materials and how to use a pressure cooker for mushroom cultivation before you start.
Tip: PF-Tek is excellent for learning sterile technique. The skills you develop here — clean inoculation, contamination awareness, environmental control — directly transfer to more advanced methods.
Level 3: Advanced Cultivation
Advanced cultivation builds on the fundamentals of PF-Tek but uses bulk substrates, grain spawn, and — at the highest level — agar work for strain isolation and genetic preservation. This is the path for growers who want maximum control over their cultivation and are comfortable with a more complex, multi-stage process.
Grain Spawn
Rather than brown rice flour jars, advanced growers inoculate sterilized grain (rye, wheat berries, or oats) with spores or liquid culture. Grain colonizes faster and more evenly than BRF, and it provides a richer nutrient base for the mycelium. Once fully colonized, the grain spawn is used to inoculate a bulk substrate — a process called "spawning to bulk."
Liquid culture is a key tool at this level. It is a nutrient solution colonized with mycelium that allows faster, more reliable inoculation than spore syringes. Read our guide on how to make liquid culture to get started.
Monotub and Bulk Substrate
A monotub is a large, lidded plastic tote used as a fruiting chamber for bulk grows. The most common bulk substrate is CVG — coir (coconut fibre), vermiculite, and gypsum — which is mixed with grain spawn and placed directly in the tub. The monotub method produces significantly larger flushes than PF-Tek cakes, making it the standard approach for experienced growers.
The casing technique is another option at this level. Applying a thin layer of casing material (such as a peat moss and lime mixture) over the colonized bulk substrate can improve pinning and protect the surface. See our guide on the casing technique for magic mushrooms for details.
Agar Work and Strain Isolation
Agar plates allow you to grow mycelium in a visible medium so you can select the strongest, cleanest sectors of growth and isolate them onto new plates or into liquid culture. This is how experienced cultivators maintain and improve their strains over time. Agar is also the best tool for identifying and eliminating contamination at an early stage.
Agar work requires a laminar flow hood or a well-maintained glove box. Contamination risk is higher at this level because you are working with open petri dishes. Sterile technique becomes even more critical.
Spores: Where It All Begins
Every cultivation project that goes beyond a ready-to-grow kit starts with spores. Spores are the reproductive units of the mushroom — equivalent to seeds in the plant world. Understanding the different spore products available will help you choose the right starting material for your method.
Spore Prints
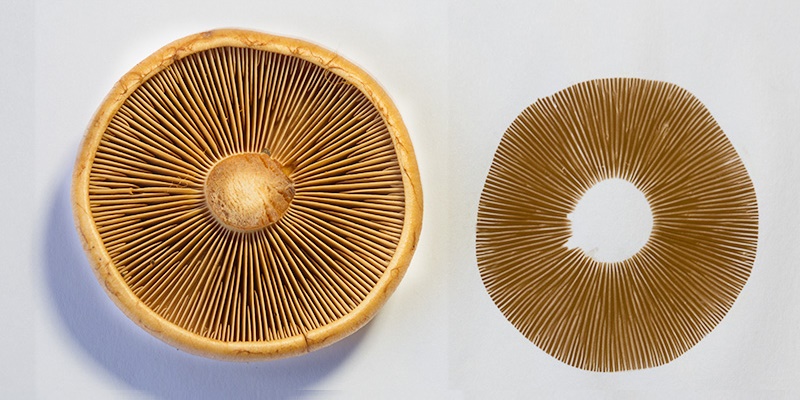
A spore print is made by pressing the cap of a ripe mushroom onto paper or foil, leaving behind a print of millions of spores. Prints are ideal for long-term storage and can remain viable for years when kept dry and cool. To use a print, you dissolve a small amount in sterile water to create a spore solution. Read our guide on how to use a mushroom spore print for full instructions. Browse available spore prints in our shop.
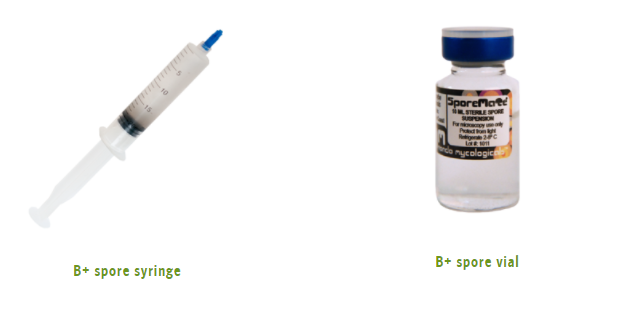
Spore Syringes
A spore syringe is a pre-made suspension of spores in sterile water, ready to inject directly into jars. This is the most convenient format for PF-Tek and grain spawn inoculation. Our step-by-step spore syringe guide walks you through the full inoculation process. Browse our range of spore syringes.
Spore Vials
Spore vials contain a spore suspension in a small glass vial with a rubber septum — similar to a syringe but in a different format. They store well in the fridge and are easy to work with. Read our guide on how to use a magic mushroom spore vial to learn more.
Tip: Spore syringes are the easiest format for beginners. Vials are slightly more versatile for long-term storage. Prints are best if you want to build a long-term spore library.
If you want to prepare spores for microscopy rather than cultivation, our guide on preparing magic mushroom spores for microscopy covers that separately.
The Growing Cycle: What to Expect
Whether you are using a kit or growing from spores, the biological cycle of the mushroom follows the same stages. Knowing what to expect at each stage helps you respond correctly and avoid common mistakes.
Stage 1: Colonization
After inoculation, the mycelium begins to spread through the substrate. This is the colonization stage. The substrate will gradually turn white as the mycelium network develops. Good colonization is dense, white, and rope-like. With a grow kit, colonization is already complete when you receive it. With PF-Tek jars, expect two to four weeks depending on temperature and strain.
To understand what is happening inside the substrate during this stage, read our explanation of mycelium and how it works.
Stage 2: Pinning
Once colonization is complete and conditions change — typically with an increase in fresh air, a slight temperature drop, and good humidity — small pins (primordia) begin to appear. These are the earliest stage of mushroom development. Pinning can begin within a few days of placing the colonized substrate in fruiting conditions.
Light plays a role in triggering and directing pins. Indirect natural light or a standard lamp on a 12/12 hour cycle works well. Read more in our guide on light for magic mushrooms and grow kits.
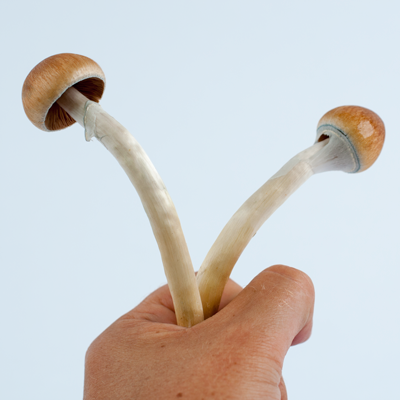
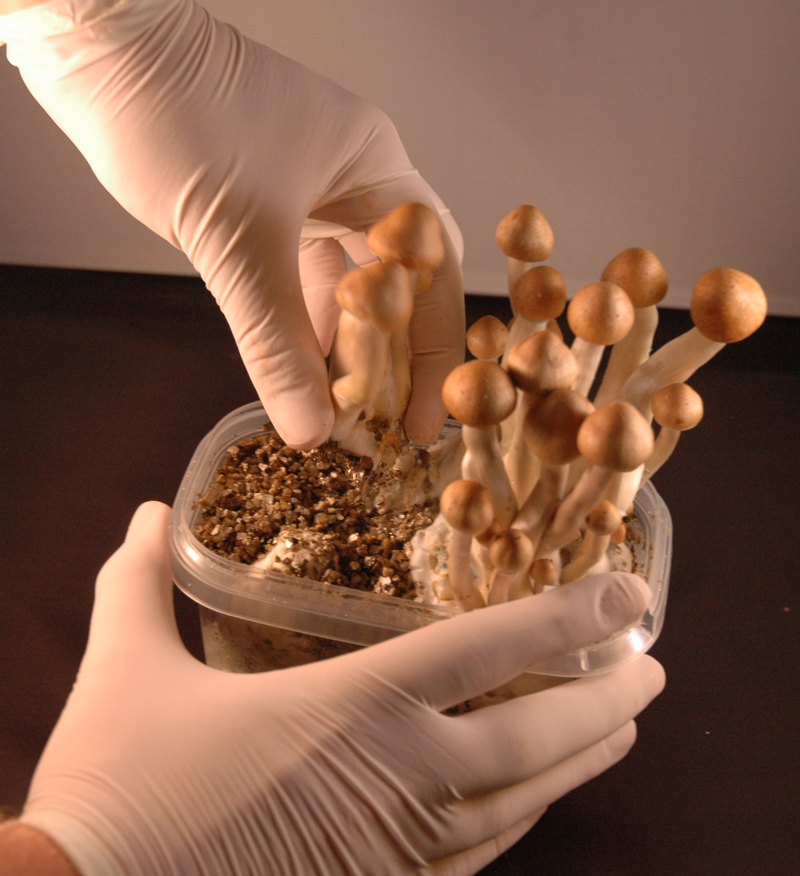
Stage 3: Fruiting and Harvest
The pins develop into full mushrooms over several days. Growth accelerates noticeably in the final 24–48 hours. Harvest before the veil beneath the cap tears open. A broken veil means the mushroom has begun releasing spores, which can hamper future flushes. For guidance on timing and technique, see our articles on when to harvest magic mushrooms and how to pick them correctly.
If you notice some mushrooms stopping their development and dying back before maturity, read our guide on mushroom aborts — why they happen and what to do.
Stage 4: Subsequent Flushes
After the first harvest, the substrate can usually produce additional flushes. Soak or mist the substrate between flushes to rehydrate it. Most grow kits produce two to four flushes. PF-Tek cakes typically produce two to three. Bulk substrate monotubs can produce more. Subsequent flushes are generally smaller than the first.
Common Problems and How to Fix Them
Even experienced growers encounter problems. The good news is that most issues have straightforward causes and solutions. Here are the most common problems and where to find help.
Contamination
Contamination is the most common problem in mushroom cultivation. It appears as green, black, pink, or orange patches on the substrate — these are mould colonies competing with the mycelium. Contamination is usually caused by poor sterile technique during inoculation, or by damaged substrate. If you spot contamination, isolate the affected substrate immediately and do not open it indoors. Read our full guide on grow kit contamination to identify what you are dealing with and decide whether the substrate is recoverable.
No Growth or Very Slow Colonization
If nothing is happening after a week or two, the most likely causes are: temperature too low, dead spores (old or heat-damaged syringe), or contamination that has outcompeted the mycelium before it got started. Our troubleshooting guide — what to do if your mushroom kit won't grow — walks through each scenario.
Dud Flushes
Occasionally a flush produces mushrooms that seem weaker or less effective than expected. This can have several causes related to substrate health, harvest timing, or storage. Read our article on dud flushes and why they happen for a detailed explanation.
Temperature Problems
Magic mushrooms need consistent warmth to colonize and fruit well. If your home is cool — below 20°C — you may need a heat mat to bring the temperature up. However, placing the kit directly on a heat mat can overheat the substrate. Read our guide on using thermo mats correctly to avoid this common mistake.
After Harvest: Drying and Storage
Fresh mushrooms have a high water content and will degrade within days if not dried properly. Drying preserves them for long-term storage and maintains their potency. The best method is to use a food dehydrator set to a low temperature (around 45°C / 113°F). If you do not have a dehydrator, placing mushrooms on a wire rack in front of a gentle fan for 24–48 hours is a good alternative. Read our complete guide on how to dry and store magic mushrooms for detailed instructions and storage tips.
Once dried, mushrooms can be stored whole or ground into powder. Many people use the powder to make their own capsules for easier and more consistent use. If that interests you, read our guide on how to make your own magic mushroom capsules.
Tip: Properly dried mushrooms (cracker dry — they snap, not bend) stored in an airtight container with silica gel packets will stay potent for 12 months or longer. Moisture is the enemy of long-term storage.
For anyone curious about the science of what makes magic mushrooms psychoactive, the Shroomery FAQ is one of the most thorough and community-tested references available online.
Ready to Grow Your Own Magic Mushrooms?
This guide has covered everything from your first grow kit to advanced agar work. The most important step is simply to start. If you are new to cultivation, a ready-to-grow kit removes almost all of the complexity — you can have your first flush in as little as two weeks. If you are ready to grow your own magic mushrooms from spores, our PF-Tek guide and spore products give you everything you need to get started at an intermediate level.
Whatever level you choose, the process of growing your own magic mushrooms is one of the most hands-on and educational ways to engage with these fungi. Each flush teaches you something new.
Ready to start? Browse our magic mushroom grow kits — the fastest and easiest way to grow your own magic mushrooms at home.
Note: If you are suffering from a mental illness and are curious about using psilocybin or any other psychedelic therapy, please consult one of the relevant medical authorities first. Do not self-prescribe — it is vital to have the right support and guidance when using psychedelics as medicine.
Décembre 2, 2022