No tiene artículos en su carrito de compras.
All-in-One Mushroom Grow Bag Instructions | Step-by-Step
These All-in-One Mushroom Grow Bag instructions guide you step-by-step through growing your own mushrooms at home. Follow these All-in-One Mushroom Grow Bag instructions for the All-in-One Mushroom Grow Bag and harvest your first flush in just a few weeks.
All-in-One Mushroom Grow Bag instructions: four steps to mushrooms
1
Inoculation
1 day
Inoculation
1 day
2
Colonization
1–3 weeks
Colonization
1–3 weeks
3
Mixing
10 min + 2–4 weeks
Mixing
10 min + 2–4 weeks
4
Fruiting
2–4 weeks
Fruiting
2–4 weeks
Before you start
Before anything, read all steps once. Then work slowly and keep everything clean.
Step 1 Inoculation: Injecting the liquid culture or spores
Temperature: 23–29°C
Light: dark place
Duration: 1 day, then 1–3 weeks wait
Ready when: first white mycelium shows near the injection port
- Shake the spore vial for 10 seconds.
This loosens the spores and spreads them through the solution. Do not shake live mycelium. - Disinfect the injection port with an alcohol swab.
Also do not touch the port again after cleaning. - Sterilize the needle red hot with a torch lighter.
Then let it cool for a few seconds before injecting. - Inject the full 10ml into the grow bag.
If the flow blocks, just pull the needle back a bit. Empty the whole syringe.
Do not mix the bag yet. So store the bag in a dark place at 23–29°C.
The ideal temperature can differ per strain. Mycelium usually appears within 1–3 weeks.
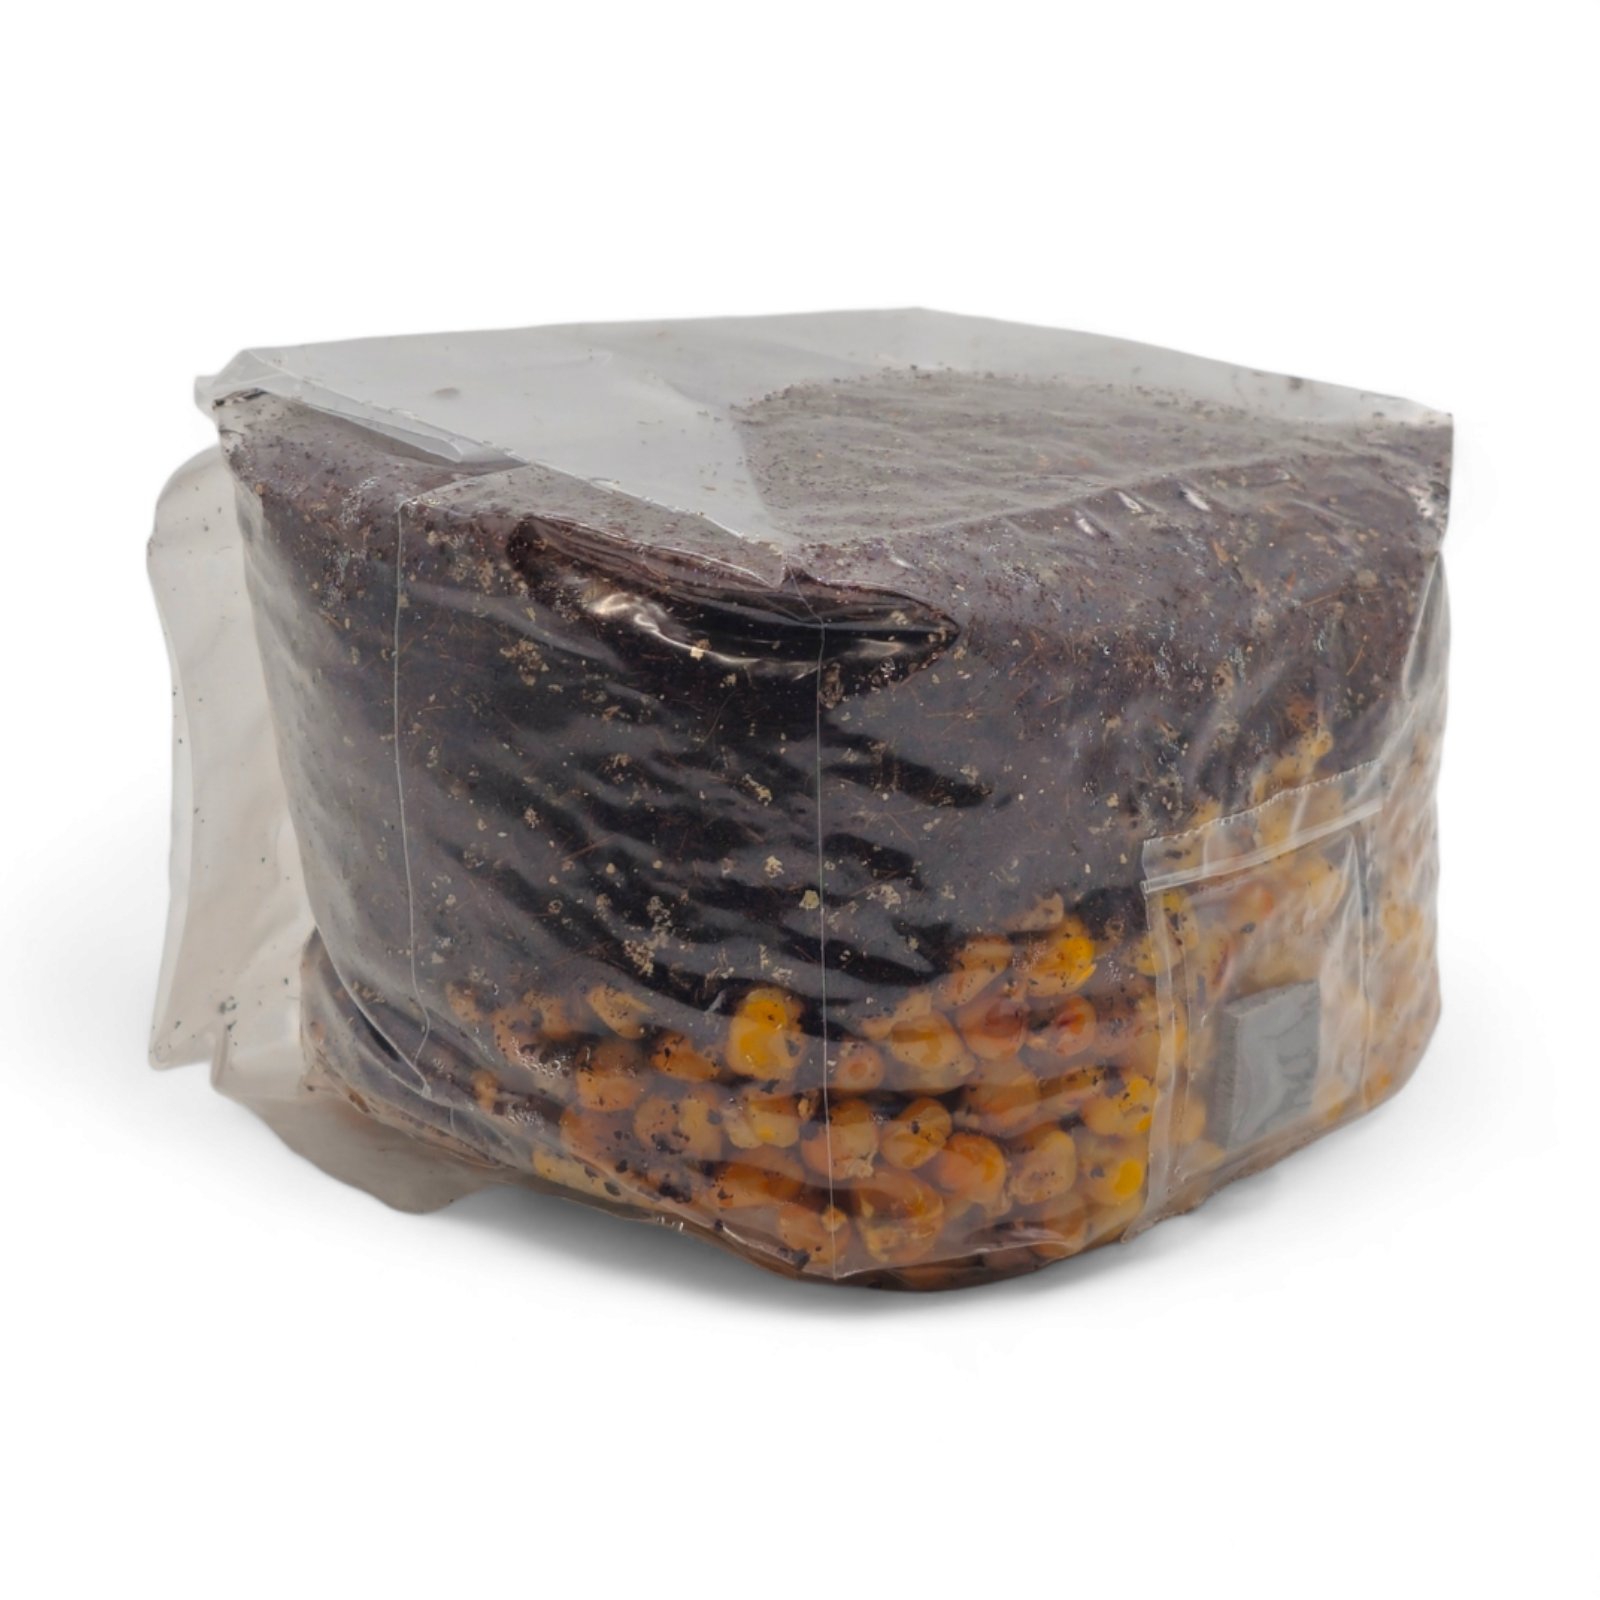
Step 2 Colonization of your grow bag
Temperature: 24–28°C (below 20°C stops growth)
Light: fully dark
Duration: 2–4 weeks
Ready when: at least 50% of the corn is white
What healthy mycelium looks like: bright white, fluffy and cotton-like. Some condensation on the inside of the bag is normal.
See green, grey or black patches? Check the troubleshooting section below. For light requirements per phase, read our complete guide to light for mushroom grow kits.
Step 3 Mixing: Blend the two layers of the grow bag
Once the corn is at least half colonized, mix the two layers. Keep the grow bag closed — do not open it.
- Squeeze the grow bag to break up the colonized corn.
Break the clumps into small pieces with your hands. - Mix the broken mycelium into the rest of the substrate.
This helps colonize the remaining substrate faster. - Press the substrate tightly back to the bottom of the bag.
This reduces the chance of side pinning. - Return the bag to the same warm, dark spot at 24–28°C.
Keep conditions the same as during colonization.
Do not mix the substrate a second time. A second mix can contaminate the bag.
Now wait until the substrate becomes fully white. This solid white block is called the cake. Once the cake is fully white, move to fruiting.
Step 4 Fruiting your grow bag
Temperature: 22–26°C
Humidity: high (mist the hood, not the mushrooms)
Light: indirect daylight (no direct sun)
Duration: 2–4 weeks per flush
Time to set up the grow bag for fruiting. Wash your hands and close the windows.
- Sanitize your workspace.
Disinfect the table, your scissors and the outside of the bag. Let the disinfectant evaporate, then wipe the bag dry with a clean paper towel. Put on gloves and disinfect them too. - Place the rubber band 2cm below the top of the cake.
Squeeze out any air pockets above the band. This cuts oxygen to the bottom of the block and prevents side pins. - Cut a horizontal slit 2–5cm above the substrate.
Match the slit to the width of the filter patch. This allows fresh air exchange. - Wait for primordia (tiny pins) to appear.
This usually takes about a week, but it can take longer. Be patient — pins mean growth is starting. - Extend the cut across the front once pins appear.
This extra air helps the mushrooms grow and prevents CO₂ buildup. - Cut a hood around the sides, leaving the back intact.
Because the hood traps humidity, it keeps conditions ideal. Spray water up into the hood — not directly on the mushrooms. - Harvest the mushrooms just before the veil under the cap tears.
Simply twist each mushroom gently at the base and pull it free. Do not cut them — leftover stems can rot.
For multiple flushes
Repeat the fruiting cycle to grow more mushrooms from the same cake:
Add humidity. Instead, spray the sides and hood several times over a few hours. This lets moisture absorb into the substrate instead of pooling.
Close the bag. Tilt the hood down around the bottom. As a result, this traps CO₂ and humidity for the next flush.
Repeat steps 3–7. Continue until the block stops producing. However, each flush yields fewer mushrooms than the one before.
Need more spores or liquid culture? Browse our spore vials or liquid cultures for your next grow.
Troubleshooting your grow bag
Even when you follow these All-in-One Mushroom Grow Bag instructions carefully, things can still go wrong. Here are the most common issues and how to fix them.
How to recognize contamination
Healthy mycelium is bright white, fluffy and cotton-like. Watch out for these warning signs. Read our dedicated guide: Help! My magic mushroom grow kit is contaminated! Also see our article on hygienic precautions when growing magic mushrooms.
Dispose of contaminated bags outside in a sealed bag. Wash your hands and clean all surfaces before starting a new grow. Unsure if it is bruising or mould? Read blue spots on your grow kit — bruising or contamination?
No growth after 2 weeks
For ideal temperatures per phase, read our mushroom growing temperature guide. Also check our article on what to do if your grow kit won’t grow.
First, check the temperature — below 20°C the mycelium stops growing. Next, inspect the injection site. No growth near the port can mean the syringe was inactive. Re-inoculate with a fresh spore vial or liquid culture.
Side pinning (mushrooms on the sides)
Side pinning usually means the rubber band sits too loose or is missing. So tighten it closer to the top of the cake. Also press the substrate firmly to the bottom during mixing.
Overlay (thick white crust, no pins)
Overlay means the mycelium got too dense to form pins. Therefore, extend your cut for more fresh air exchange. Lightly mist the surface to trigger pinning. For related pin problems, read our guide on mushroom aborts — causes and what to do.
Water pooling at the bottom
Simply tilt the bag gently to drain excess water. Also reduce misting and increase air exchange. Do not let the cake dry out completely.
When to ask for help
If nothing helps, take a clear photo and contact our customer support team. Furthermore, you can visit our r/magic_mushrooms_shop subreddit where our community and team are happy to help.
Follow these All-in-One Mushroom Grow Bag instructions carefully and you will enjoy multiple harvests. Above all, patience and clean work matter most. Happy growing!